
How to publish a WordPress Article
Step 1: Log In to Your WordPress Dashboard
– Go to: yourdomain.com/wp-admin
– Enter your username and password
– You’ll be taken to the Dashboard
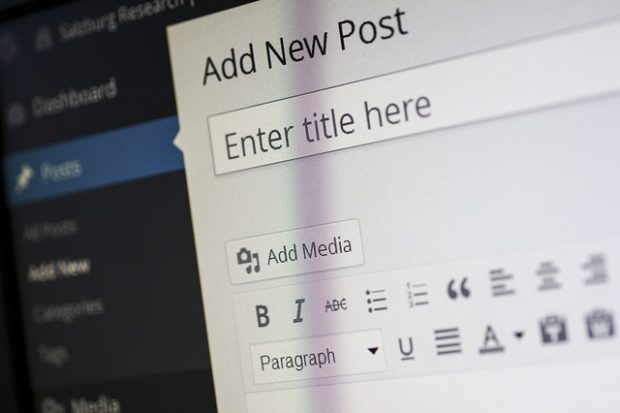
Step 2: Create a New Post
– In the left-hand menu, click Posts > Add New
– This will open the post editor screen
Step 3: Add Your Title and Content
– At the top, type your post title
– In the main area below, write or paste your article
– Use the block editor to format text, insert headings, images, links, etc.
Step 4: Add a Featured Image

– On the right sidebar, look for the Featured Image panel
– Click Set featured image
– Upload or select an image from the media library
Step 5: Select a Category and Add Tags
– On the right sidebar:
– Under Categories, check the relevant category (e.g., Career, Wellness, Finance)
– Under Tags, enter keywords that relate to your article, separated by commas
Step 6: Preview Your Post (Optional)
– Click Preview (top-right) to see how the article will look on your live site
Step 7: Publish!
– When you’re ready to make it live, click the blue Publish button (top-right)
– WordPress will ask you to confirm-click Publish again
– Optional: If you want to schedule the article to go live later, click the date/time next to “Publish
immediately”, set your date/time, and then click Schedule